Monday, November 1, 2010

Christmas is Coming. . . . . COUNTDOWN!

Here are some fun Christmas countdown craft ideas:

Countdown Blocks
These blocks are a pretty fun craft for all ages/levels. You can do many different count downs for different holidays or even just fun blocks to show off some great pictures.

What you need: here is a basic list of supplies you will need for the blocks:
~2- 4x4x4 pine blocks (after all is said and done they will really measure 3 1/2" on all sides)
~1- 8" of 2x4 pine
~Misc scrap book paper cut to size to fit on blocks (12 sides)
~Misc paper to fit on the sides of 2x4 (3 sides)
~Lettering--we used card stock just cut out by a cricut, or you can use vinyl.
You will need:
2-0s
2-1s
2-2s
1-3s
1-4s
1-5s
1-6s
(use the 6 as a 9 too, so be sure you paper for this one can go either way)
1-7s
1-8s
and the word "Countdown" for the bottom block
~Paint
~Distress ink
~Mod podge (we used the glittery mod podge on this project as well)
~Misc embellishments


The plan:
now you need to plan this out. I wanted to make sure I had a good variety of papers so I wouldn't have the same papers showing on any given day. Use a paper cutter and you can also use a rounded corner cutter. Now when doing your layout you need to make sure you have the right numbers on the right blocks.
Here is how to lay out the numbers
Block 1: #s 0, 1, 2, 3, 4, 5
Block 2: #s 0, 1, 2, 6, 7, 8

Use some distress ink to give a little wear to the papers.
Gentle rub the edges of the paper on the ink pad and I also use my finger to add some faint touches as well.
See the difference below on what the paper looks like with and without distress ink.
Mod Podge.
Mod podge can be tricky and you need to be careful to not get any bubbles while the mod podge is drying. I use a thin layer on the wood before I apply the paper and then add a generous amount to the top, after I applied the lettering. For this step I chose to use the regular matte modge podge. You will have to do this in steps since you will need to do all 6 sides. I used those little disposable cup lids from a restaurant kids cup to set the block on for drying. Be sure to dry thoroughly!
After the initial mod podge dried I went back over the edges and the actual numbers with the glitter mod podge. I didn't want the whole thing to be glittery, just the red.
When I did the bottom I added some gemstones to it while the mod podge was still tacky. It acts as a great adhesive.
*I would advise against large embellishments on the blocks themselves so they can sit right and not be uneven from sitting on an embellishment on the days that block is facing down.


Chalk Board Countdown
We made these chalk boards years ago, but my kids love it! They often argue over who can write it down. It is great for the little kids who are still learning to write their numbers.
Supplies:
small chalk board (roughly 8x10")
misc paint supplies
embellishments
ribbon
chalk
(Before I start painting I drilled a hole in the side for the ribbon to attach to the board.) Decorate and paint the board to you liking. I used a painters pen for the lettering and puffy paint on the sides. This is when you can really give this craft personality, so have fun with it!
When it is all dry add your ribbon with the small piece of chalk to the board.


Have fun with these projects!
Merry Christmas!!
Sunday, October 10, 2010

I Ah"door" this project!

I got my room almost done and I have the perfect spot for some bookshelves. But honestly I do not have $350+ for some nice shelves, so with one of my great doors from my salvage excursion
and some salvaged wood from old furniture I have had the inspiration to make some bookshelves out of it! Yes, a big project, but with proper planning I think I can pull this off for next to nothing. It will take resourcefulness, time, and a good plan.

A good plan:
Whenever I get started on these type of projects I put my drafting background into action. Actually I am a little OCD when it comes to this phase of my projects. It's a talent! I admit that. Sometimes it's hard to recognize your talents, but this is one I can claim. Many friends ask for my help in this area because it comes very easily to me and I love to do it.
So here we go! I have the major supplies for my shelves and now lets figure out how I am going to use them. A good plan will ease the process and eliminate errors that cause waste. Here is my plan:
I drew this up and now my husband sees what I saw when I said I had to have this old door. And I have his approval. He likes it! During this phase it helps to make a supply list so hopefully it can minimize your trips to Lowes.

Resourcefulness:
I cannot throw good wood out and it drives my husband crazy to have all this scrap wood in our garage. But after it's all said and done he sees that I really will do something with it he has learned to trust me! It usually turns out for the best. We had a dresser that was poorly made but still had some great plywood and even some solid wood crown moulding. I will use those items for these great shelves. I got a hold of another door that I will use for the sides and it will look perfect! So as of now I have the door for the back, the door for the sides, the wood for the shelves, Some faux legs that we have had for the past 3 years, and the crown moulding. I need some detail moulding for some finishing touches and hopefully we can get that at Al's salvage yard for next to nothing. I am hoping with my resourcefulness I can get these fabulous shelves built for under $50! I decided to use all wood mouldings. This is going to be a heavy duty piece of furniture, so I wanted it to be all wood for durability.

Time:
Time can often be the biggest obstacle in getting a project done. I have so many projects to do and not enough time. So this is the slow going part for me. I have great friends who are always willing to help me, which is great when cutting big doors! Thank Traci! :)
(wear your safety goggles!)
I have found some time to get all the shelves cut out and the side door cut in half. Now comes assembly. This is where you sometimes need to tweak your plan. I only had 5 pieces of wood the right size for the individual shelves so I will alter my plan a little for that.
(6 months later-yea, that's how I roll)
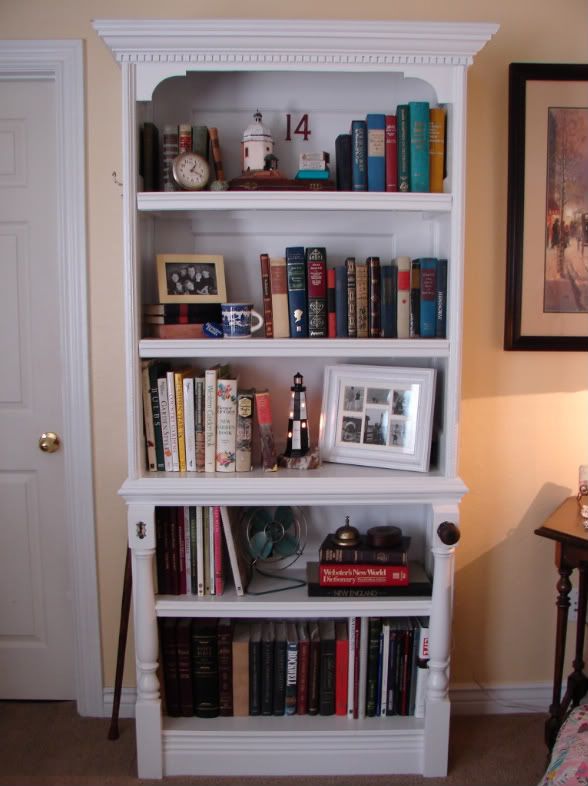
I found some spare time and now I will get these shelves done! Since I had all of my prep work done and have the majority of my supplies, it is time to assemble. When I cut the door for the sides in half I was sure to cut it down the middle of the panels, not necessarily the middle of the door. I later trimmed the side that was too big to make the sides even. If I had cut it down the middle of the door the sides would have been even but not symmetrical.
I overlapped the sides around the back door. (see pic)


I then applied 1" square braces for the shelves. Note the angle cut on the ends to mask the braces a bit. I was sure the sides covered the whole side since some of the braces went over the recessed panel. All of my shelf placements were around the paneling of the back door. I tried to be consistent so the panels reveled were pretty close in how they aligned with the shelves.


More details:
  • While getting my moulding from the salvage yard I found a 1 1/4" moulding to face the fronts of the shelves. Since I used plywood I needed to cover up the end of the shelves and this touch gives an illusion of thicker shelves while masking the wood braces underneath.
  • I used a 3" chair rail moulding to go around the 3rd shelf from the bottom. I wanted to bottom to feel a bit more substantial and this was a good divider from the bottom and top.
  • A huge detail for the bottom is the half sawn legs. I had these from my kitchen remodel and never used them, so these were perfect! These really add substance to the bottom to set it apart.
  • For the bottom I ended up using a base board and some spare moulding rather than my initial plan. I was afraid if I had done a cut out, random things may have ended up under the bookshelves. Note I did have to use some scrap wood as a brace for the base to be secured on.
  • The top sides did need a little doctoring as well. The side door is a solid core door but the solid interior was more of a pressed board so there were some dimples that would show. I did have to put a piece of lattice moulding to hide the dimpling texture. Then for added detail I found a great scrap of moulding. I don't really know how to describe the pattern, so see the picture below.
  • For the crowing finish of the shelves I used a 3" crown moulding with a dentil moulding detail. I used some pine for the top and added another moulding to face the top. This adds to the illusion of a thicker crown.
  • Just under the crown is some 3/8" craft wood that I cut the arches out with a scroll saw.

Photobucket

Finishing touches
See the following pictures for the little touches I added to give some personality.
  • The old door knob and face plate give add to the charm of shelves made out of doors.
  • The escutcheon keyhole plate is another fun touch. I still want to add a cute hook of some sort with a key hanging from it. I did drill out behind the keyhole or you could paint black behind the plate.
  • The old hook and numbers were a fun salvage yard find. Hook already had paint layers on it and I just need to install, but the numbers did need a few layers of different colors of paint to simulate years of paint.


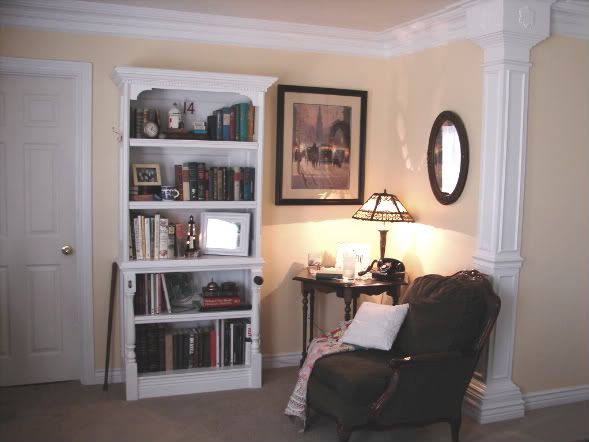
All in all this was a very fun and rewarding project. I love how they look in my room now and it is a great focal point! I did stay within budgets so that makes it all the more rewarding! Hope this can inspire others to find fun things to do with old architectural items.

Photobucket

*a note for realism! Staging is fun and is great for pictures. I had fun finding all the old books in my house and making theses shelves picturesque. After all was said and done these shelves hold my text books, photo albums, and fun novels. I still try to make it look nice and the top shelf has stayed decorative, but I do have to live in reality and live with function, it still can be cute. right? So now just image a couple of loads of laundry sitting by the chair and welcome to my world!

Sunday, April 11, 2010

Vintage

I love Vintage! Vintage inspires me! I love to add vintage touches to my home. I feel vintage gives a sense of history, where we came from.

Here are some of my vintage/vintage inspired things that I just love.

Photobucket
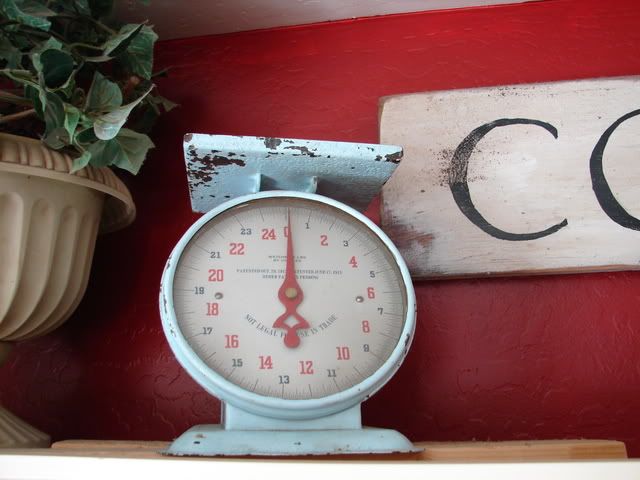
Found this scale while antiquing! Love the color! It was perfect just the way it is!

Photobucket
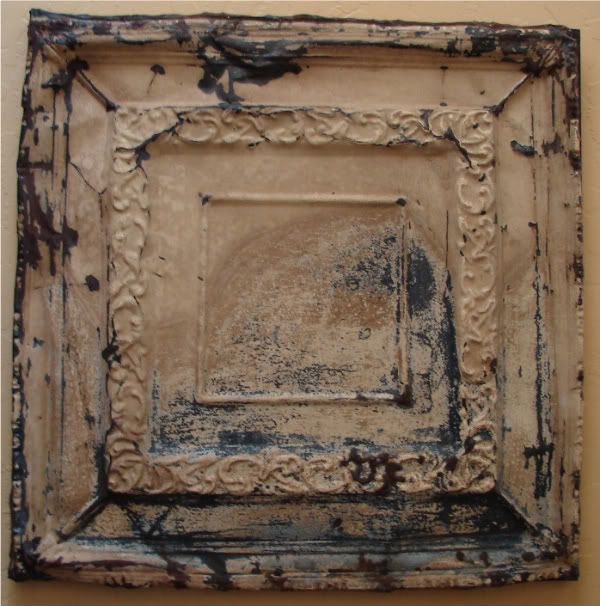
This piece of tin was from an old building in Denver. I got it while at a Salvage Yard there. It appears to have been in a fire. The back was all covered in soot! I mounted it on a piece of plywood cut to size and painted the sides brown to blend in. A great touch to my home.

Photobucket
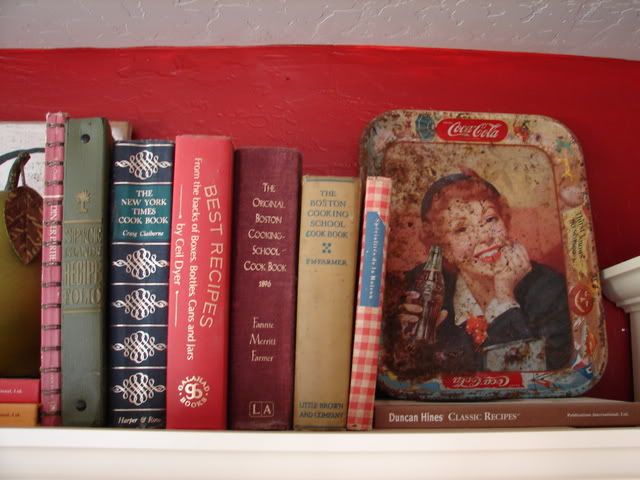
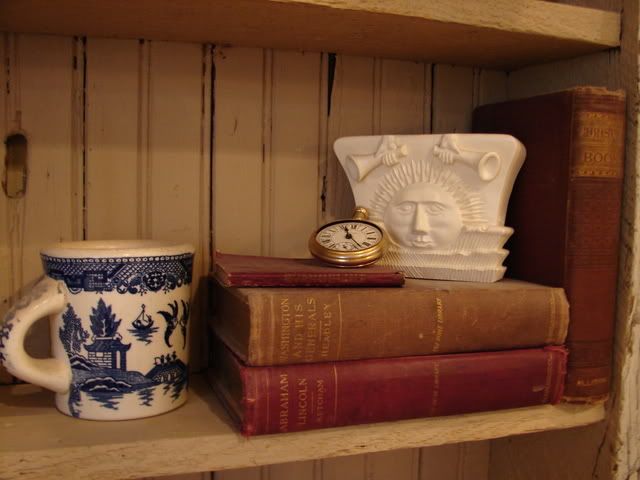
BOOKS! I love old books and decorating with them. Whenever I am at a thrift store or pass by a used book store I have to stop and see if I can find a great book. My criteria for finding a book has nothing to do with value. I don't buy things as an investment. I get things that I love. So when I buy books I also try to find books that I may even want to read someday and that look good. I have found many classics and many good informative books as well.
Photobucket
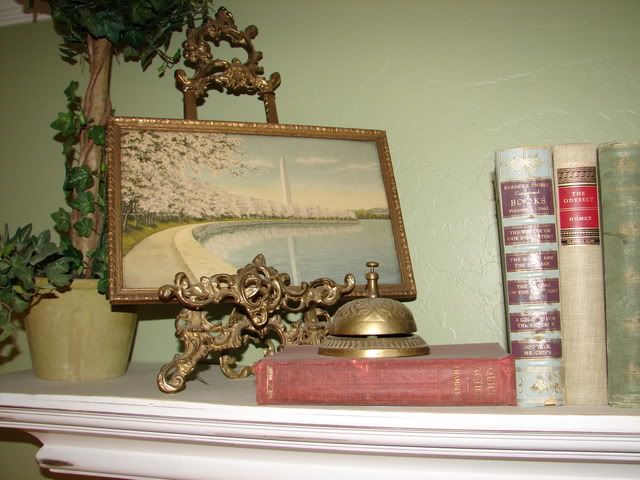
Many items in my house are actually family heirlooms. I got this old bell from my grandma. And this pic is reminiscent of the spring our young family spent in DC. What a wonderful weekend the Cherry Blossom Festival was. This picture I found recently at a Antique store is a reminder of our spring as well as a great vintage touch to my home.

Photobucket
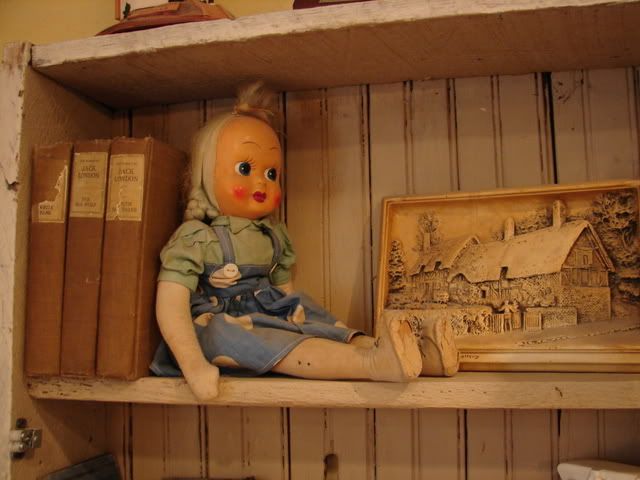
These other items are things I got from my other grandma. This polish doll is a reminder of my heritage and really cute too!

Photobucket
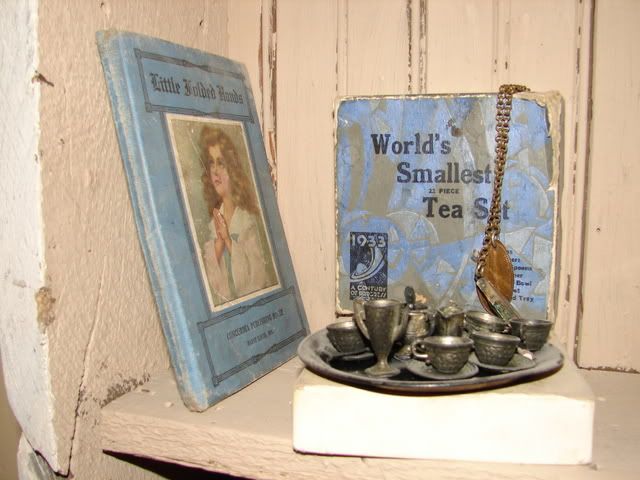
These were items that were my grandpa's the book is from his Sunday school teacher as a child and the tea set and smashed penny are from the Chicago Worlds Fair.

Photobucket
Other items that are great decor and have a special meaning to me.

Photobucket
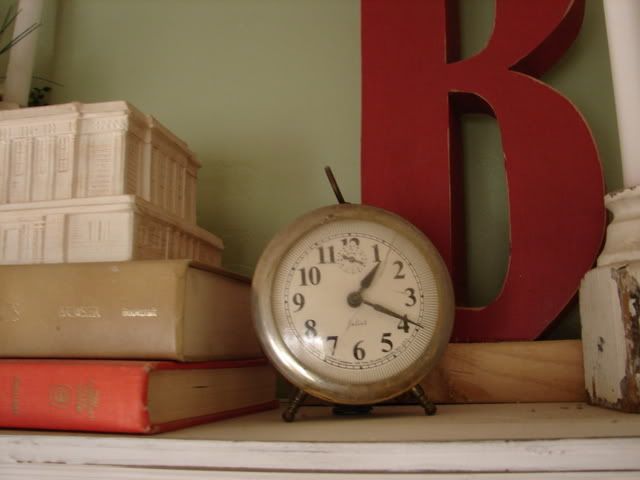
I love to decorate with clocks! Especially old ones.

Photobucket
This is one of the most priceless items that I have. It has a very personal story and every time I look at it reminds me of that experience.

Photobucket
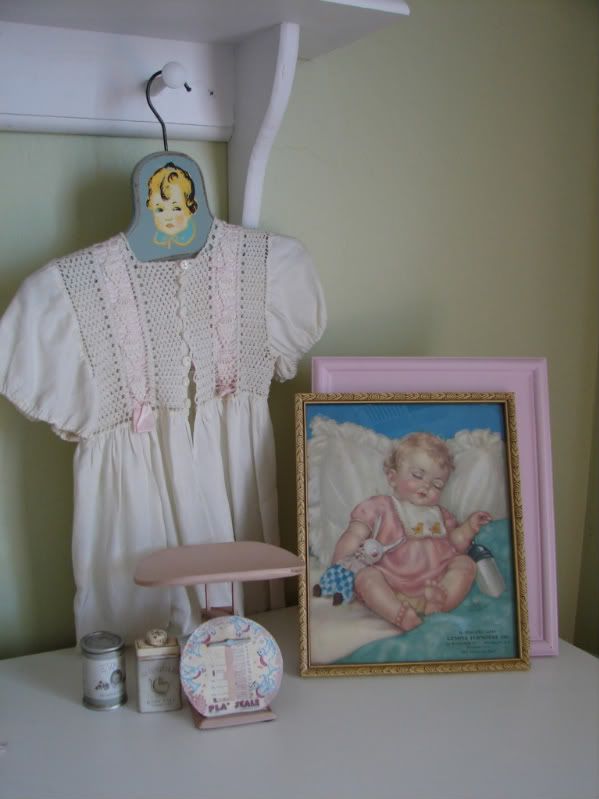
This old picture was an advertisement calendar from the 40's and My mother's Chritening Dress made by my great-grandmother. These items decorated my babies room.

Photobucket
A little new with the old! I love to mix and match!

Photobucket
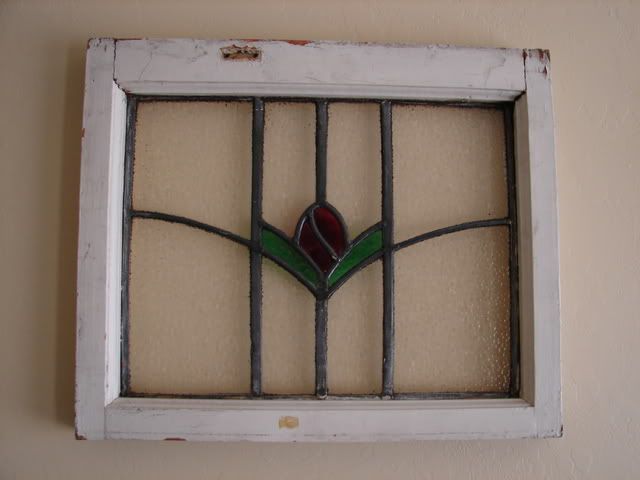
This was a great find that I found at an antique store for a steal. I would love many more in my home. The old leaded window look is a true classic. These windows inspire me to learn how to make my own.

Photobucket
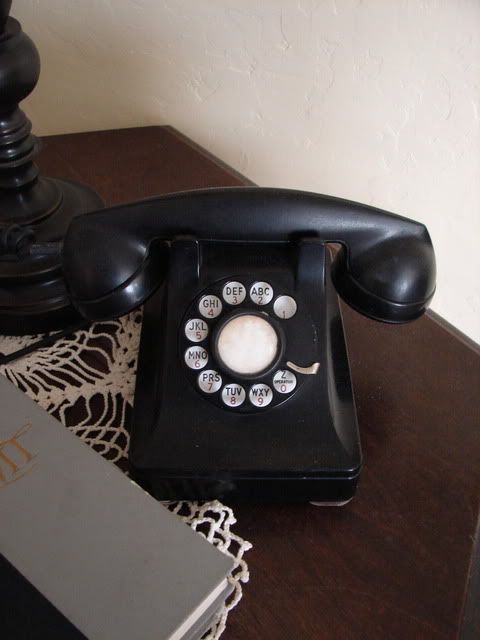
This is another family item. In my grandmother's old home in Denver this was her upstairs hall phone. I remember talking on this phone as a little girl.

What all this boils down to is that I look at many "things" in my home on a daily basis I don't just see something that I spent money on or something that just looks perfect in my home. I see a memory, I re-feel a testimony building experience, I look back onto my heritage and on my family's beginnings. There's something to be said about knowing where you came from and revering that. When you are trying to make your house your home keep that in mind. Surround yourself first with the people you love and then top it off with things that remind you of who you are!

Thursday, March 4, 2010

The Joy of the Salvage!

Once when visiting my Sister In Law she told me she was tearing down an old house to eventually build on. At that point my heart rate shot up, my palms got all sweaty and I felt as though I just walked into a store advertising an 80% off sale! (You know what I'm talking about!) I then asked her if she would mind if I did a little salvaging before the big event, which was happening the next day. Her response would be like most and she said, "Sure, but there's nothing but junk in there." And my response was definitely unlike most and I said, "Well Yeah, that's what I want!"
So the next morning my other Sister in Law (who appreciates a good Junkin' excursion) and myself took a drill, hammer, some screwdrivers, some grubby clothes and my Honda Oddessy (2nd best thing to a truck-if you have one you know what I mean!) and we went ready to salvage. (I would recommend a good pry bar too!)
Yes, on the surface there wasn't much to get. Most of the doors were hollow core and many of the windows were single pane and really big. We did find some sweet french doors!


I loved the little windows in the kitchen. My mind was reeling of all the fun things to do with them. It was even better that they weren't broken!
You can even multi-task while salvaging!!
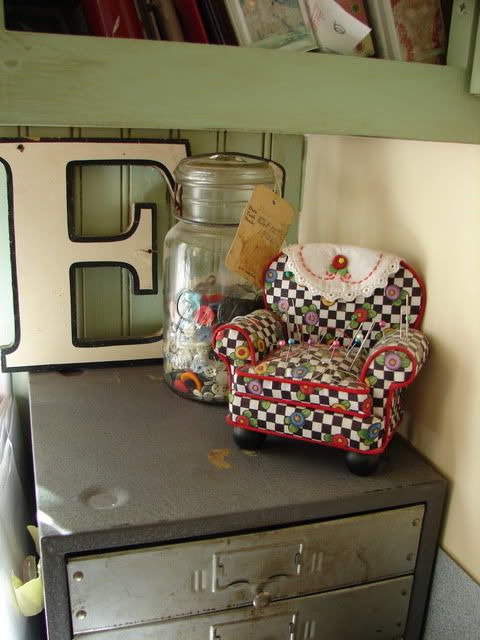

When we looked even closer we found may unique items that would be fun to re-use. Look at these great hinges and great clasp on this cabinet. There is a fun project in the works for this gem!
In the back we found a couple of solid wood doors. So many fun things to do with these. We only took one and to this day I regret not getting the other. So when doing these type of adventures if you think you MAY want it, just take it. If you don't use it give it to someone who will use it. Otherwise it's just in a landfill. :(

I even found a great 24" X 24" mirror that hangs in my front room. I didn't even need to paint it!

Our spoils! So the house didn't look much different when we got done with it, but we were very happy with our goods!

Now we even looked around outside and found two old gates! Those are real fun to use in your garden or as a message center in a garden decor room! Never pass up an old gate :) So we fit it all in the Oddessy and notice Mary scored that sweet scallop from the kitchen (were you eyeing it too?) Love it!

So later that day we drove by and the house was going, going, . . . .

Never ever pass up a good salvaging opportunity! I told my SIL if she ever does this again I will make the 3 hour drive, bring my pry bar and do some more junkin'! I don't really consider myself a big environmentalist, but I do believe that we shouldn't let good things go to waste. The talent is in finding the good things!
Happy Salvaging!